

|
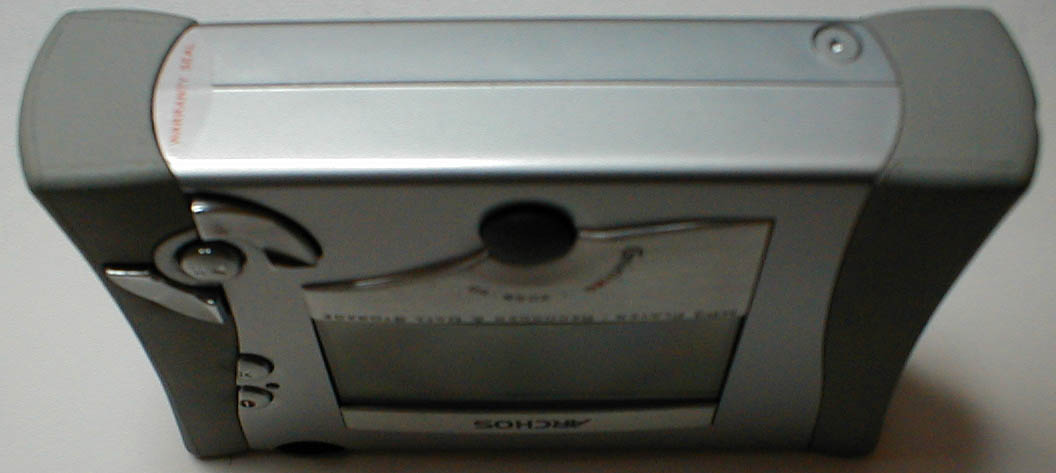
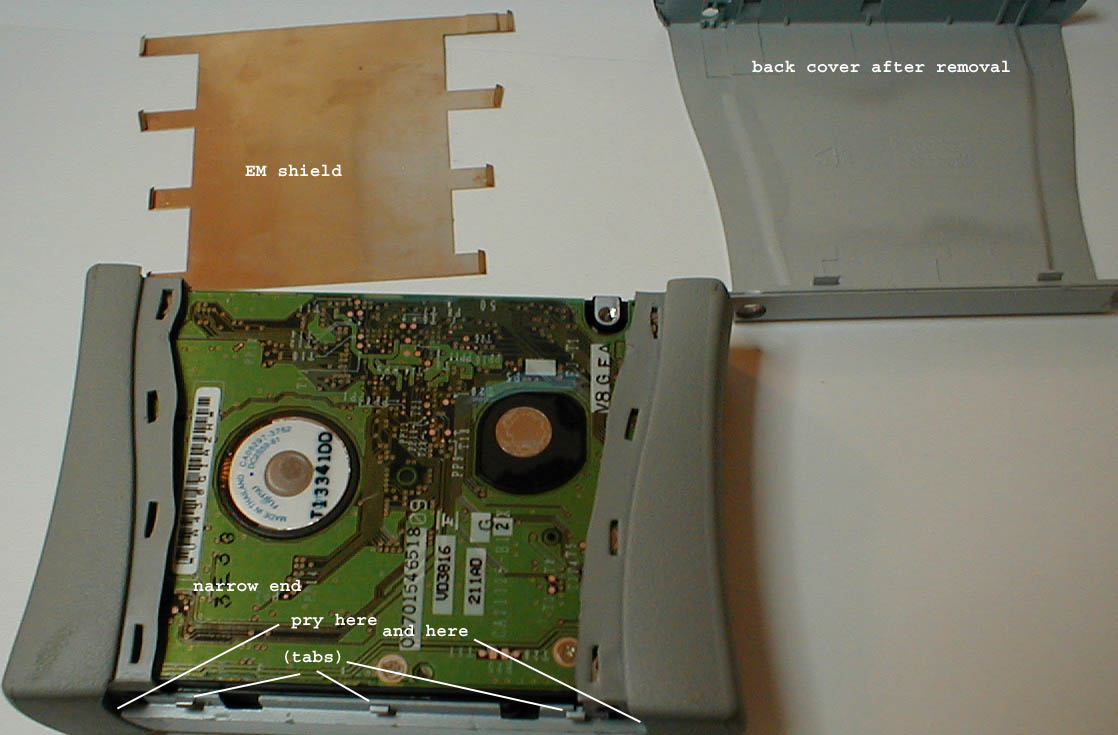
Remove both screws and warranty seal (yes.. this voids your warranty) |
|
Remove back cover narrow side first. Apply slight pressure with a thin flat tipped screwdriver to lift past the tabs. The tabs do break quite easily so take it slow. Once the back cover is off, the EM shielding can be removed by pressing in on one of the rubber bumper while shifting the EM shield twords it. |
|
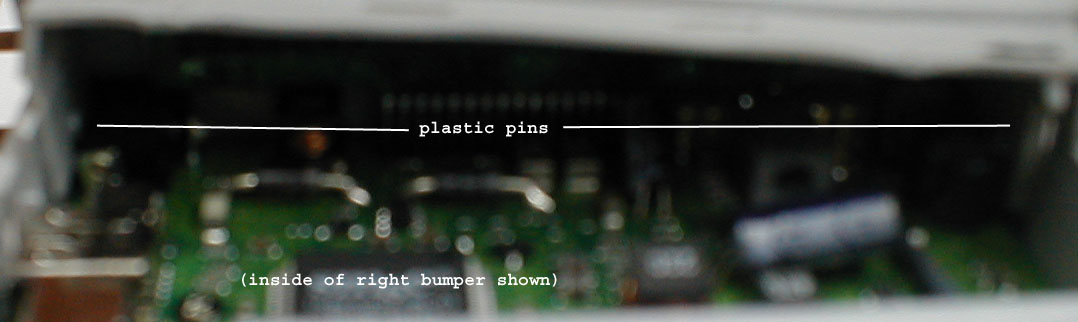
Release the sides of the left bumper from the two plastic pins and twist bumper back to expose edge of harddrive. Lift edge of harddrive just past the top of the bumper. with a very carful rocking motion, pull harddrive to the left, unplug harddrive from IDE header (you may want to use a small tool inserted under right bumper to hold the board mounted header in place and reduce the risk to cracking the board. |
|
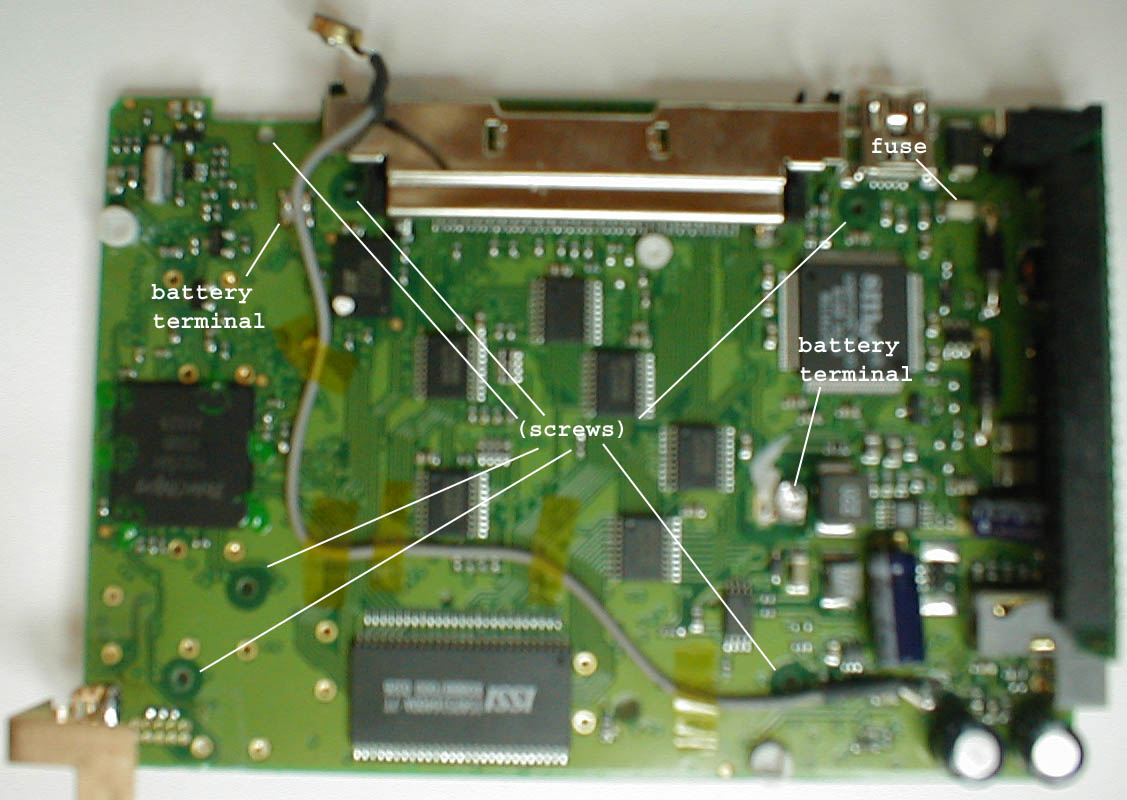
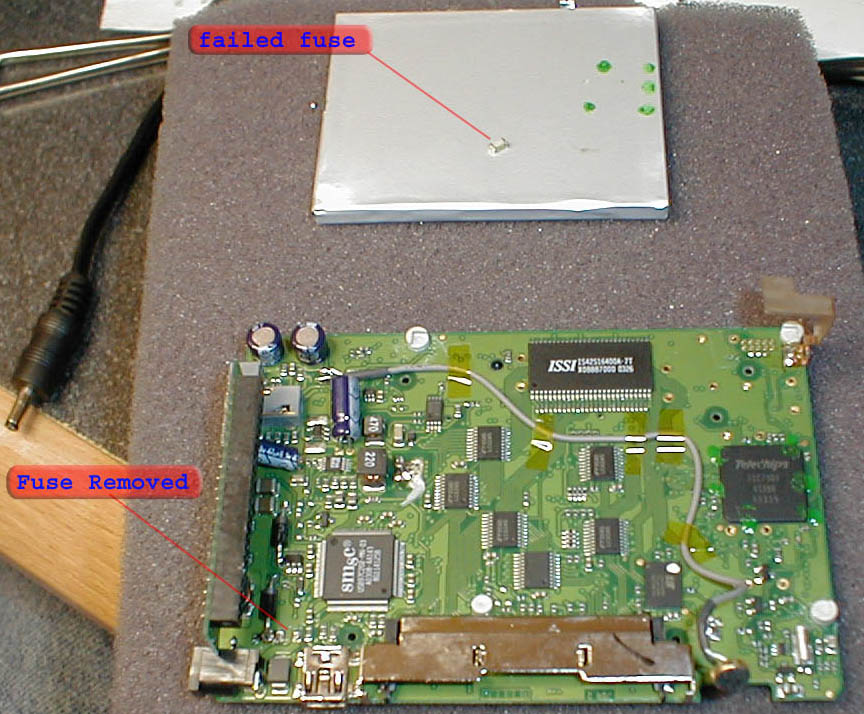
You should now be able to see the fuse, however, it is almost impossible to get at with the right bumper still in place. |
|
Remove battery by alternating heat on the two pads while lifting the battery. then with a #0 philips screwdriver, remove the six screws holding the board to the faceplate. You should now be able to remove the right bumper completly. You could at this point remove the left bumper and lift the board from the face plate, however, the left bumper is considerably more dificult to reattach. |
|
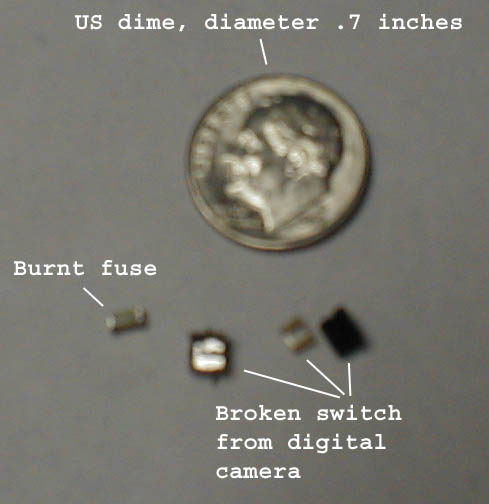
Now the fun part.... use your prerequisite skills soldering surface mount components to remove burnt fuse and replace with equivalent (or, in a pinch, you could use either a small bit of wire or salvage a 0 ohm resistor from a junk modem. Keep in mind that these alternative parts will not offer the protection a fuse would. |
|
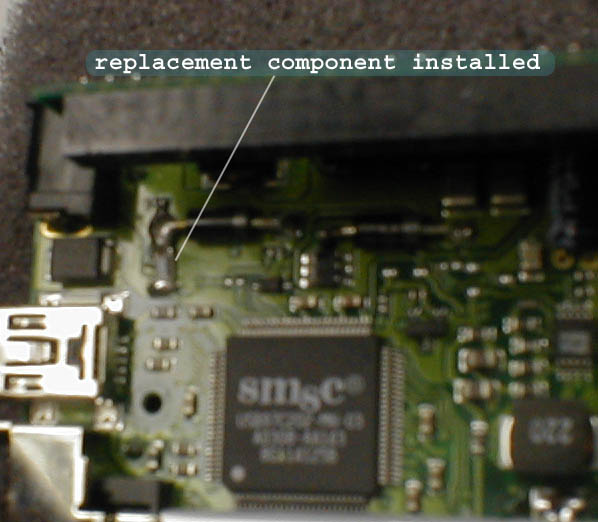
Replacement part as installed. Reassemble in reverse order. Getting the bumpers back in place and reinstalling the harddrive is tricky so don't rush it. |
|
Good as (almost) new |
|
Relative sizes. |
|
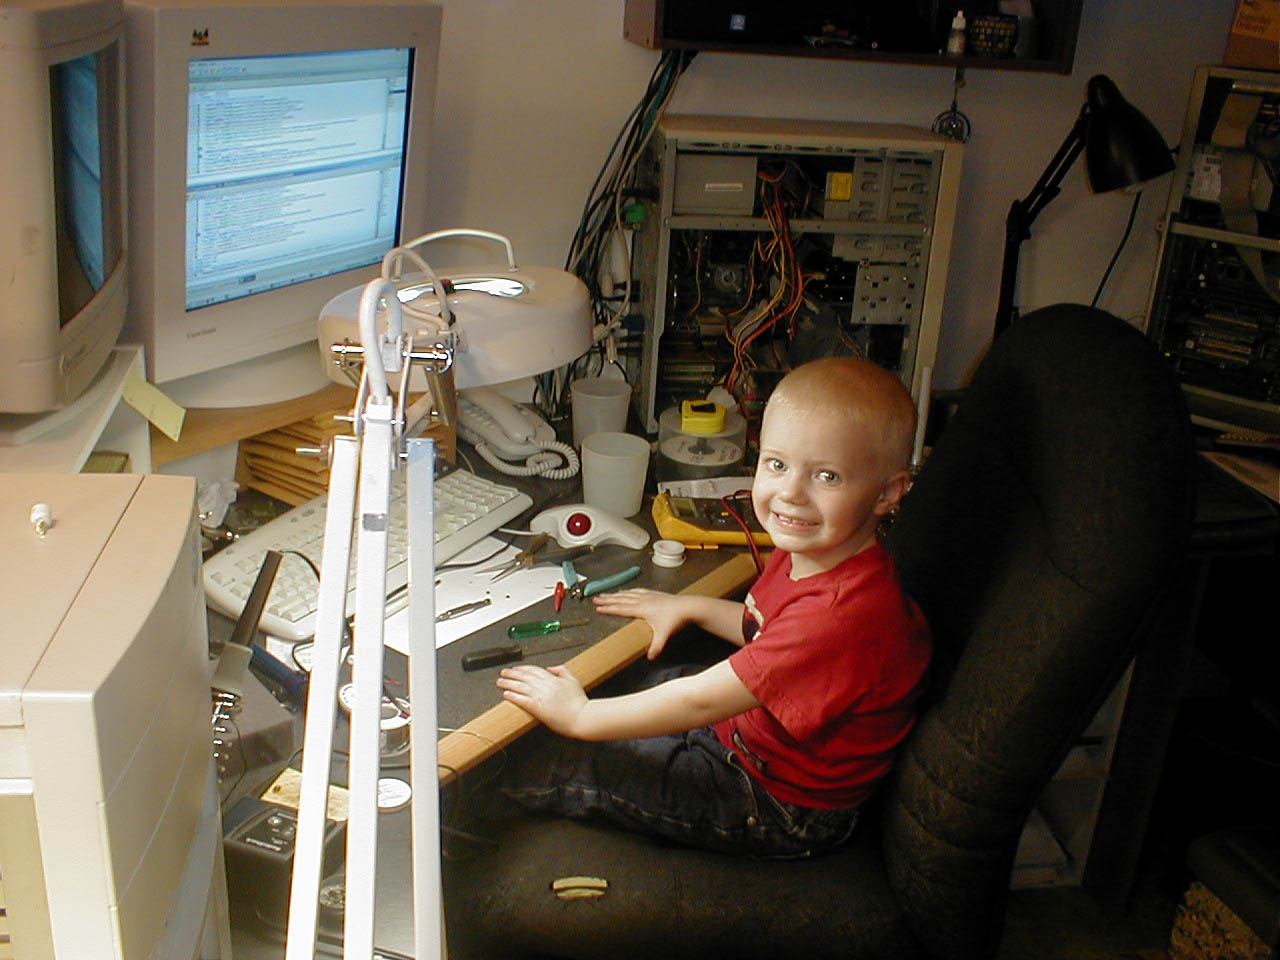
It is always good to have someone helping. :) |